
Live Edge Slab Table - West Linn, OR
- Sep 12, 2018
- 3 min read
Updated: Jun 14, 2022
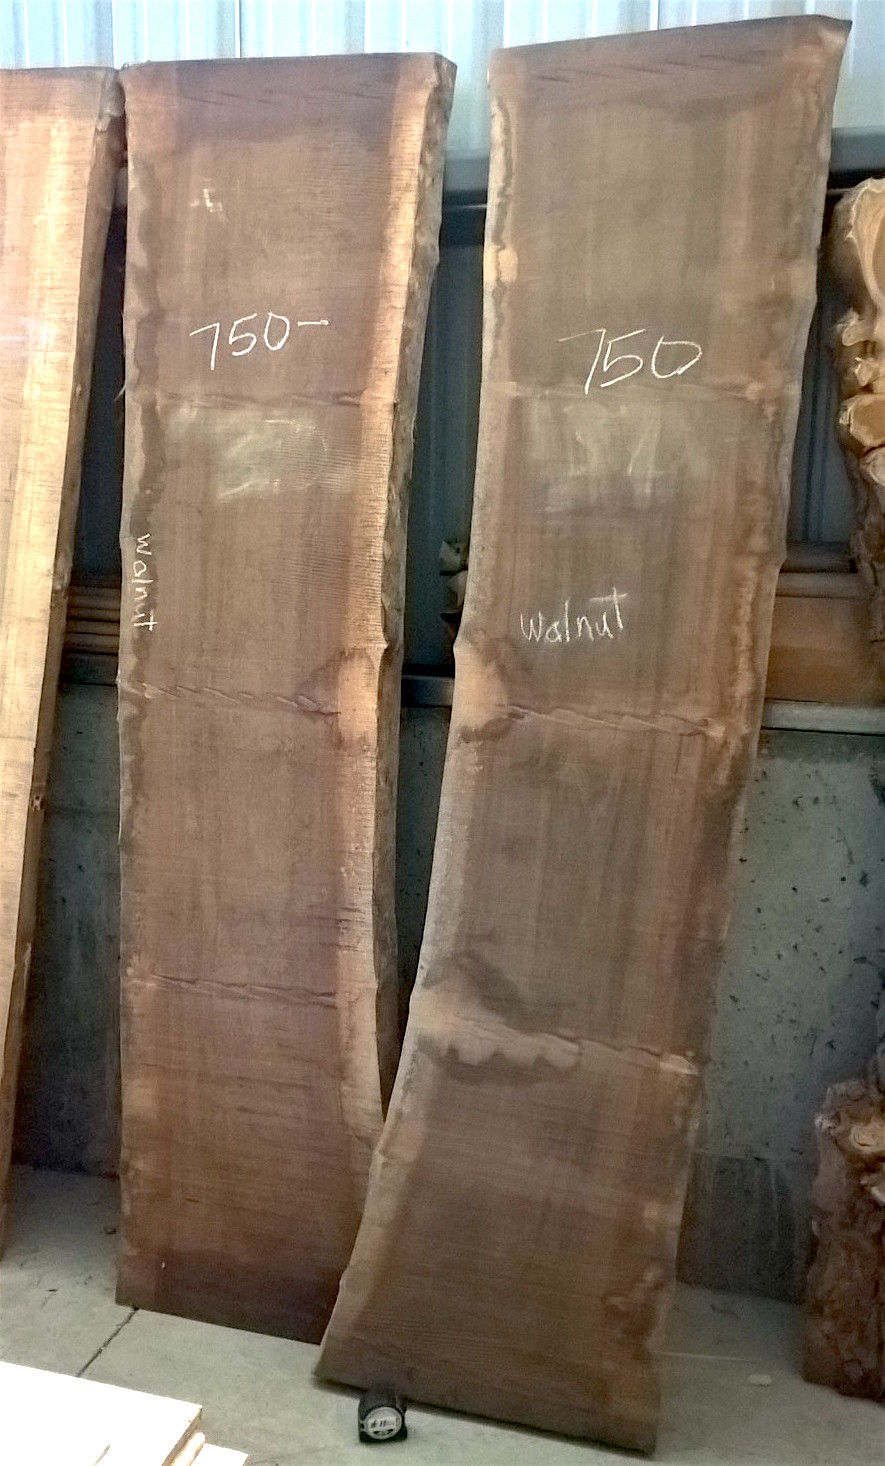
A slab table begins its life in a warehouse. I found these two 8/4 black walnut slabs at Helena Hardwoods in Helena, MT. They were large, reasonably dry, knot free, and flat. They were cut from the same tree, so the grain would match perfectly. Locating hardwood of sufficient size and quality is a significant challenge in our region. Driving 500 miles or more in order to locate great material is typical. Single slabs wide enough for a table top are a rare find these days. So I buy two book-matched slabs (flitch cut) that are each greater than 24" wide, 9 feet long, and 2" thick. That way I end up with just one joint down the middle, live edges, matched grain, and a finished surface at least 42" x 76" (seating for 6).

Two inches is typically how thick rough slabs are these days. I prefer thicker stock. Closer to 3" is better, but it means more time spent mucking about in warehouses with forklifts and lumbermen. Not all bad.

The seating plan for any large table begins by applying long-established standards for comfortable seating (i.e., Panero & Zelnick, 2014). Once the "comfort minimums" are met, adjustments can be made. For this table, the only real challenge was where exactly to place the legs so as not to annoy the sitters. As it turned out, it was pretty easy. The trapezoidal legs and a table this wide will be almost entirely out of knee reach.

I design my welded steel bases to be strong and proportional to the thick slab they support. Each one is a little different. The visual balance between base and top is important. Daniel Vigil of Bigfork, MT makes them for me. Above is an example of a base plan I drafted in Adobe Illustrator and sent to him.

The sapwood on walnut is creamy white. I don't shy away from using sapwood in table tops (neither did Maloof or Nakashima). Sapwood can add a lot of visual interest and keeping some of it helps to maximize the usable portion of the lumber. The color contrast between the dark heartwood and light sapwood gets a tiny bit muted under 6 coats of finish (a good thing). Here, the table is shown flipped over. The bottom surface of the tables I make receive nearly the same amount of preparation as the top. Several dutchmen (bowties) go in on both sides.


I put 5 bowties in the top of this table. Four across the center joint and one on a small diagonal check near one end. These are done entirely by hand. Each takes about 45 minutes to complete.
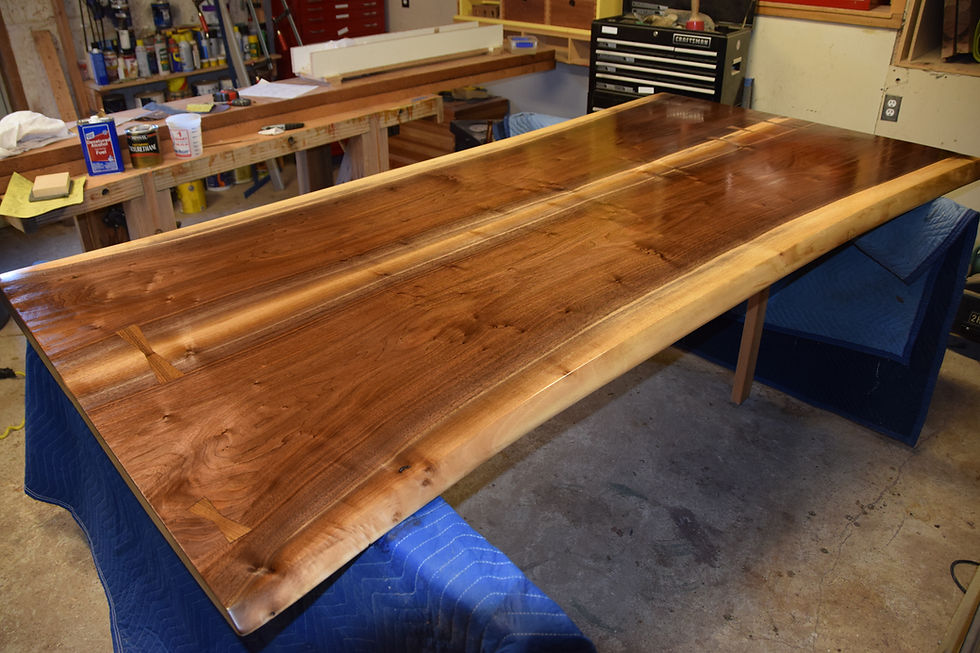
Finishing large tables in the shop means work on everything else slows to a crawl for a week. One coat of varnish goes on every 24 hours. No dust can be made or stirred up during this time. I use several coats (>5) of with Waterlox Original or thinned wipe-on polyurethane.

I clean the steel base with acetone, prime, and apply a few coats of semi-gloss black enamel. The horizontal cross bar was eliminated from the final design, as it made transport difficult and was a needless complication.


The completed table and bench shown here in the customer's West Linn home. There's always a bit of worry when delivering an 8' x 4' piece of furniture to a house I've not been in previously, but the table fit perfectly. Plenty of extra room on all sides.
Here's a couple pics of the 8-foot long bench I built to go with the table. It is made from solid 8/4 walnut and weights about 100 lbs. Size: 96"w x 16"d x 18"h.

The corner joint is a mock finger joint (mitered on the outer faces and box joints between). The miters give it a modern look. The finger joints add strength. I sized the parts to 4-1/2" wide in order to give the piece some mass, given it it so long.

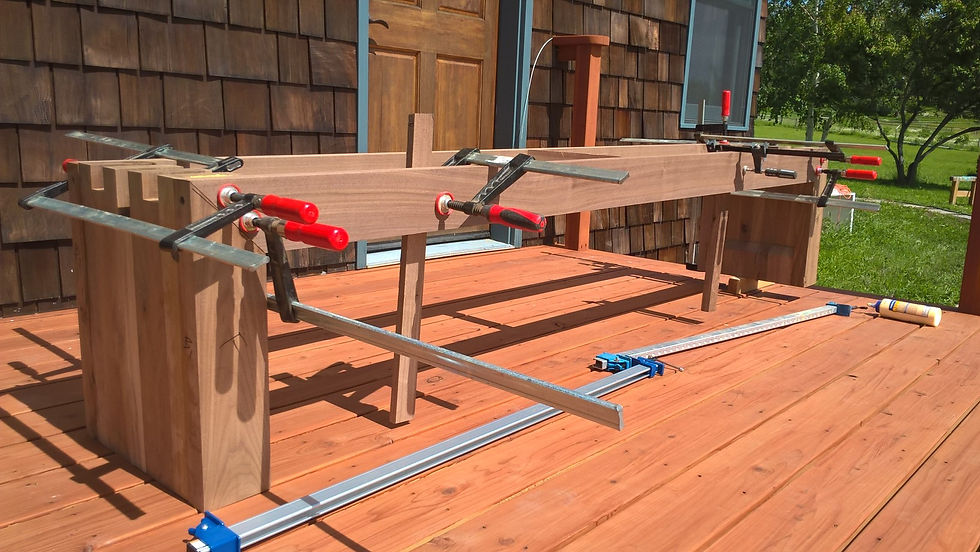
Unfinished bench in the apartment kitchen. The table took up so much space in the shop, I had to build the bench on the deck off the apartment and store it in the apartment kitchen.


